

Black & Decker Bread Machine Manual: All-in-One Guide (Updated 04/28/2026)
Welcome! This comprehensive guide, updated today – 04/28/2026 – provides detailed instructions for Black & Decker bread machines, ensuring perfect loaves every time.
Black & Decker has a long-standing reputation for reliable kitchen appliances, and their bread machines are no exception. These machines simplify the baking process, allowing you to enjoy fresh, homemade bread with minimal effort. This manual covers various models, including the B1600 and B1561, offering a versatile baking experience.
From basic loaves to sweet breads and even dough-only cycles, Black & Decker bread machines cater to diverse culinary needs. Prioritizing safety is paramount; always adhere to the outlined electrical and operational guidelines to ensure a secure and enjoyable baking journey.
Model Variations & Common Features

Black & Decker offers a range of bread machine models, like the B1600 and B1561, each with slight variations in pre-programmed settings and capacity. However, core features remain consistent across the line. These include a non-stick baking pan, a kneading paddle for optimal dough development, and a user-friendly control panel.
Common settings encompass basic bread, whole wheat, sweet bread, and dough-only cycles. Most models also feature crust control options, allowing you to customize the bread’s exterior to your preference.
Safety Precautions
Important safety measures are crucial when operating your Black & Decker bread machine. Never touch hot surfaces; always use handles or oven mitts. Avoid electrical hazards by keeping the cord, plug, and appliance body away from water, except for the removable paddle during cleaning.
Supervise children closely during operation. Always unplug the machine when not in use, before cleaning, or if damaged. Do not operate with a damaged cord or after malfunction.
Electrical Safety Guidelines
To prevent electric shock, do not immerse the cord, plug, or bread machine itself in water or any other liquid. Only the mixing paddle is safe for submersion when removed for cleaning. Never operate the appliance with a damaged cord or plug.
If the machine malfunctions or is damaged, contact customer support for assistance. Avoid using extension cords and always disconnect from the outlet by grasping the plug – never yank the cord.
Operational Safety Guidelines
Exercise caution when operating the bread machine. Always use handles or oven mitts when handling hot components. Close supervision is crucial when children are nearby. Never remove the baking pan during operation; use the START/RESET function to halt the process.
Avoid inserting utensils into the machine, and do not use it for storage. Extreme care is needed when moving the machine with hot contents.
Understanding the Bread Machine Components
Familiarize yourself with your Black & Decker bread machine’s key parts. The baking pan securely holds ingredients, while the paddle expertly kneads and mixes them. Understanding these components is vital for successful bread making. The control panel, specific to models like B1600 & B1561, manages settings.
Proper component knowledge ensures optimal performance and longevity of your appliance.
Baking Pan & Paddle
The baking pan is the heart of your bread machine, designed for even heating and perfect loaf formation. Ensure it’s securely locked in place before operation. The kneading paddle, removable for cleaning, mixes and develops gluten. Do not remove the baking pan during operation; press START/RESET to halt.
Regular cleaning of both components is crucial for hygiene and optimal performance.
Control Panel Overview (B1600 & B1561)
The control panel features buttons for selecting pre-programmed settings like Basic, Whole Wheat, and Dough. A crust control option adjusts browning levels. The Start/Reset button initiates or cancels cycles. Do not operate with a damaged cord or plug. Models B1600 and B1561 share similar functionality, though button layouts may vary slightly.
Familiarize yourself with each function for optimal bread-making.
Getting Started: First-Time Use
Before your first loaf, unpack the bread machine and remove all packaging materials. Wipe the interior with a damp cloth. Do not immerse the cord, plug, or machine in water. Ensure the baking pan and paddle are securely in place. Run a practice cycle with no ingredients to burn off any manufacturing residue.
This initial setup ensures a clean and safe baking experience.
Initial Setup & Cleaning
Prior to first use, carefully unpack your Black & Decker bread machine. Remove all protective films and packaging materials. Wipe the machine’s interior with a slightly damp cloth – never immerse the unit in water! Wash the baking pan and kneading paddle with warm, soapy water, then dry thoroughly. A brief, empty cycle helps eliminate any potential manufacturing odors before baking your first loaf.
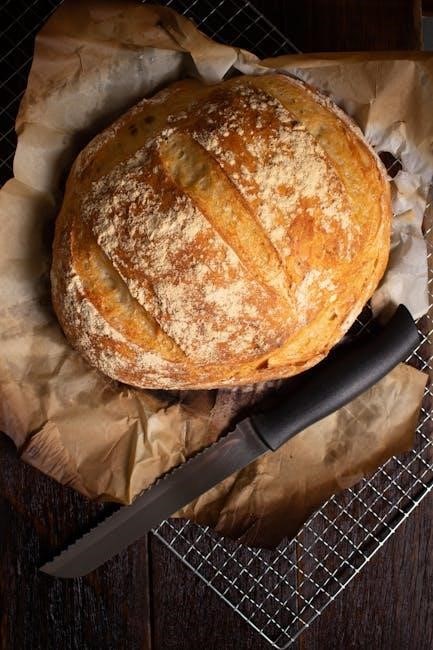
Basic Bread Recipe – A Starting Point
Begin with this simple recipe to familiarize yourself with your bread machine. Combine 1 ¼ cups warm water, 2 ½ teaspoons active dry yeast, 1 tablespoon sugar, 1 ½ teaspoons salt, and 3 ½ cups bread flour in the baking pan. Select the ‘Basic’ setting, a medium crust color, and press start. This recipe yields a classic loaf, perfect for sandwiches or toast, and a great foundation for experimentation!
Using the Pre-Programmed Settings
Black & Decker bread machines offer convenience through pre-programmed settings. These automated cycles simplify baking various bread types. The ‘Basic’ setting is ideal for white bread, while ‘Whole Wheat’ is optimized for denser loaves. Explore settings like ‘Sweet’, ‘Dough’, and ‘French’ for diverse results. Refer to your model’s manual for specific cycle times and ingredient recommendations. Experiment to discover your favorite pre-set options!
Basic Bread Setting
The Basic bread setting is your starting point for classic loaves. This cycle typically includes kneading, rising, and baking phases, automatically managed by the machine. It’s best suited for simple white bread recipes. Ensure ingredients are added in the order specified in your recipe for optimal results. Cycle duration varies by model, generally around 3 hours and 30 minutes. Enjoy freshly baked bread with minimal effort!
Whole Wheat Setting
The Whole Wheat setting is specifically designed for recipes containing a significant amount of whole wheat flour. This cycle often features a longer kneading and rising time to accommodate the denser nature of whole wheat. It ensures proper gluten development for a lighter, more flavorful loaf. Use this setting for 100% whole wheat or blends; adjust liquid slightly if needed for desired consistency. Expect a cycle duration of approximately 3 hours and 50 minutes.
Customizing Your Bread
Unleash your inner baker! Black & Decker bread machines offer flexibility beyond pre-programmed settings. Experiment with crust color – light, medium, or dark – to achieve your preferred texture. Adjust ingredient ratios carefully; a little extra flour can correct stickiness, while liquid impacts softness. Remember, precise measurements are key, but small tweaks can personalize each loaf to your exact taste preferences and dietary needs.
Adjusting Crust Color
Personalize your loaf’s exterior! The Black & Decker bread machine allows you to select your desired crust color before starting the baking cycle. Options typically include light, for a softer crust, medium for a balanced texture, and dark for a crispier finish. Experiment to find your preference; darker settings yield a more robust flavor and crunch, while lighter settings offer a delicate bite.
Ingredient Ratios & Adjustments
Achieve optimal results! Precise ingredient ratios are crucial for successful bread making. Always measure accurately, using measuring cups and spoons designed for baking. Slight adjustments may be needed based on flour type and humidity; Too much liquid can cause a sticky dough, while too little results in dryness. Experiment cautiously, altering one ingredient at a time, to perfect your recipes and consistently bake delicious bread.
Troubleshooting Common Issues
Don’t despair! Common problems like bread not rising or the paddle malfunctioning are often easily resolved. Ensure ingredients are fresh and properly measured. Verify the machine is plugged in and the START/RESET button is functioning correctly. Avoid removing the baking pan during operation; press and hold START/RESET to stop. If issues persist, consult the warranty information for support.
Bread Not Rising
A flat loaf can be frustrating! Ensure you’re using fresh, active yeast and haven’t exposed it to excessively hot or cold temperatures. Double-check ingredient measurements, particularly yeast and liquids. Ambient room temperature impacts rising; avoid drafty areas. Verify the correct cycle is selected. If the problem continues, try a slightly warmer liquid (not hot!) to activate the yeast, and ensure the lid is securely closed.
Paddle Not Kneading Properly
If the kneading paddle isn’t functioning correctly, first ensure it’s securely attached to the drive shaft within the baking pan. Excessive flour or a very stiff dough can strain the motor and hinder kneading. Check for any obstructions preventing full rotation. Avoid overfilling the pan; ingredients should move freely. If issues persist, unplug the machine and inspect the paddle for damage, replacing if necessary.
Cleaning & Maintenance
Regular cleaning extends your bread machine’s lifespan. Always unplug the appliance and allow it to cool completely before cleaning. The baking pan and paddle are removable and can be washed with warm, soapy water – avoid abrasive cleaners. Wipe the exterior with a damp cloth. Never immerse the machine base in water. Proper maintenance ensures optimal performance and prevents build-up, guaranteeing delicious bread for years to come.
Cleaning the Baking Pan & Paddle
Thorough cleaning of the baking pan and paddle is crucial. After each use, remove them and wash with warm, soapy water. Ensure all dough residue is removed, as it can harden and affect future loaves. The mixing paddle can be immersed in water, but never the machine itself. Avoid abrasive cleaners that could damage the non-stick coating. Dry completely before reassembling.
Exterior Cleaning & Care
Maintaining the exterior ensures longevity. Always unplug the bread machine and allow it to cool completely before cleaning. Wipe down the exterior with a damp cloth; avoid abrasive cleaners. Never immerse the machine in water or any other liquid. Ensure no water enters the machine’s internal components. A soft, dry cloth will polish the exterior, keeping it looking its best.
Recipes Beyond Basic Bread
Expand your baking horizons! Your Black & Decker bread machine isn’t limited to simple loaves. Explore delightful sweet bread recipes, incorporating fruits, nuts, and chocolate. Utilize the dough-only setting for homemade pizzas, rolls, or pastries. Experiment with different flavors and textures, creating unique culinary masterpieces. This machine unlocks a world of baking possibilities beyond the everyday loaf.
Sweet Bread Recipes
Indulge your sweet tooth! Discover a range of delectable sweet bread recipes tailored for your Black & Decker machine. From cinnamon raisin and banana nut to chocolate chip and pumpkin spice, the options are endless. These recipes often involve adding sugar, eggs, and milk to the standard bread dough, resulting in a softer, richer texture. Experiment with glazes and toppings for an extra touch of sweetness!
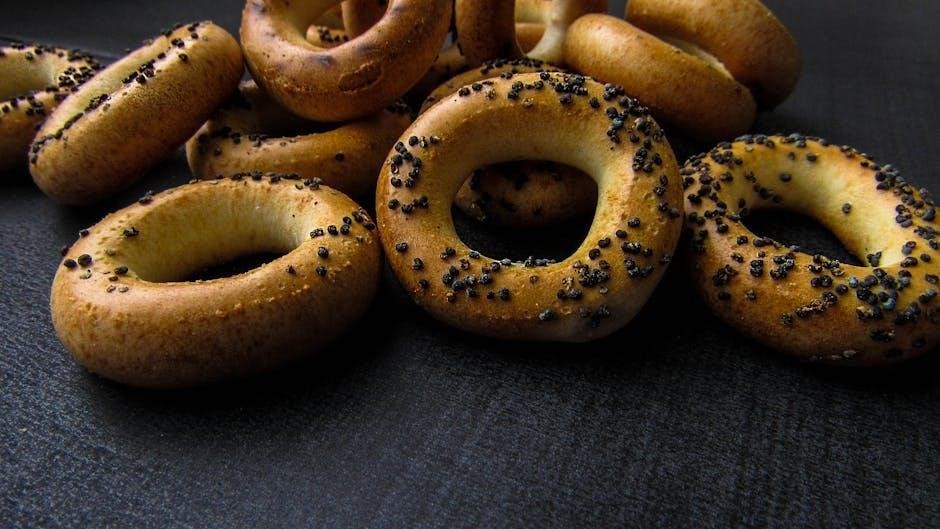
Dough-Only Recipes
Beyond bread, explore dough possibilities! Utilize the “Dough” setting on your Black & Decker machine to create perfect dough for pizzas, rolls, pastries, and more. This cycle handles kneading, rising, and provides a ready-to-shape dough. Remember to adjust ingredient ratios slightly for optimal results, and always remove the dough before the baking cycle begins. Enjoy homemade goodness without the extensive hand-kneading!
Warranty Information & Support
Your Black & Decker bread machine is covered by a warranty! Should your appliance require attention, do not attempt self-repair. Contact our toll-free customer support line (number located on the manual cover) for examination, repair, or adjustment; Using non-recommended attachments voids the warranty. Retain your proof of purchase for warranty claims. We are dedicated to ensuring your baking experience is seamless and enjoyable.
Black & Decker Warranty Details
Our warranty safeguards against defects in materials and workmanship. Damage resulting from misuse, accidents, or unauthorized repairs isn’t covered. The warranty period begins with the original purchase date. To initiate a claim, contact customer support with your model number and proof of purchase. We’ll guide you through the process for examination, repair, or replacement, ensuring your satisfaction.
Contacting Customer Support
For assistance, please reach out to our dedicated customer support team. Refer to the manual’s cover for the toll-free number, available during business hours. Alternatively, visit our website for FAQs, troubleshooting guides, and online support options. We are committed to resolving your queries efficiently and ensuring a positive experience with your Black & Decker bread machine.
Frequently Asked Questions (FAQ)
Q: Why isn’t my bread rising? Ensure yeast is fresh and properly activated. Q: What if the paddle isn’t kneading? Check for obstructions and proper placement. Q: Can I interrupt the baking cycle? Briefly, using the START/RESET button, but avoid removing the pan during operation. Q: How often should I clean the machine? After each use, clean the pan and paddle thoroughly;
Tips & Tricks for Perfect Bread
For best results, use high-quality flour suited to your recipe – bread flour for structure, whole wheat for nuttiness. Ingredient temperature matters! Lukewarm liquids activate yeast optimally. Don’t open the lid during baking unless absolutely necessary, as this releases heat. Experiment with different flour types and adjust ingredient ratios for personalized loaves.
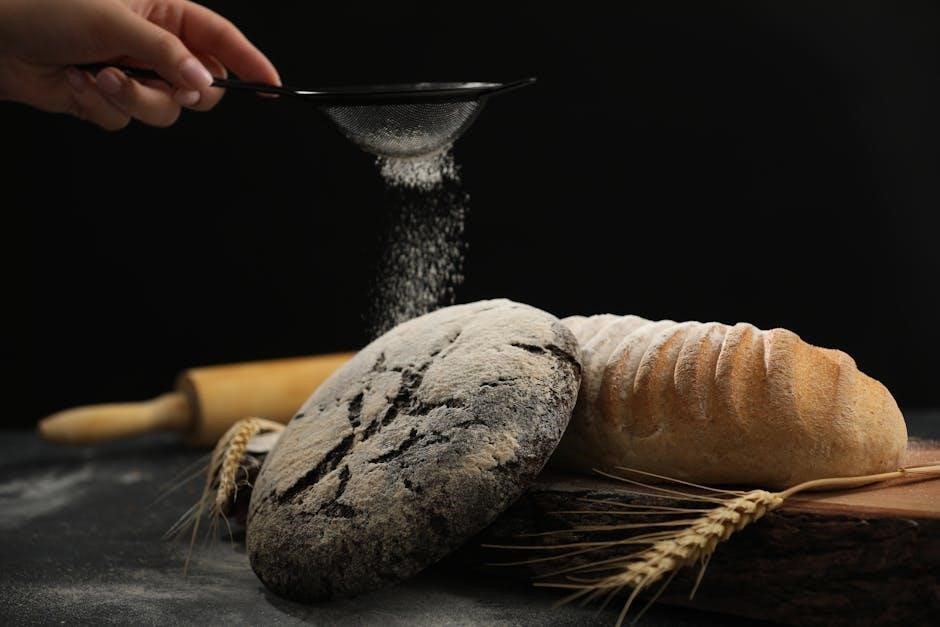
Using Different Flour Types
Bread flour, with its higher protein content, yields a chewier texture and better rise – ideal for classic loaves. Whole wheat flour adds a nutty flavor and denser crumb; consider blending it with bread flour. Rye flour contributes a distinctive taste, but use sparingly as it lacks gluten. Experiment with spelt or other alternative flours, adjusting liquid levels as needed for optimal dough consistency.
Optimizing Ingredient Temperatures
Lukewarm liquids (around 80-85°F / 27-29°C) activate the yeast effectively, promoting a good rise. Cold ingredients can inhibit yeast activity, resulting in a dense loaf. Ensure all ingredients are at room temperature unless a recipe specifies otherwise. Avoid hot liquids, as they can kill the yeast. Precise temperatures contribute significantly to consistent and successful bread baking results.